As a front-end developer, when I chanced upon the newly-coined yet-another-tech-jargon that is JAMstack, I got intrigued. JAM stands for JavaScript, APIs, Markups. It is when you can build everything in JavaScript, server-side processes are abstracted into microservice APIs, and the Markup is pre-built using a static site generator. On a traditional web development project cycle, the frontend has always been stacked after UI prototyping and before backend development. But with the JAMstack, the need to manage and run web servers is entirely eliminated. Gone are the days that the frontend is mainly for the client-side and the backend for the server-side.
I started migrating my website on the last week of June this year. The previous version of my website is generated using Jekyll, also a static site generator but based in Ruby, and deployed in Github Pages. It was first deployed in 2013 (7 years sure came by so fast). You can view it by visiting jekyll.gianfaye.com.
The Great Gatsby
I love GatsbyJS. I love how easy and fast it is to deploy sites that are equally lightning fast. For the first time in a long time I’ve coded long hours until I literally can’t anymore because I needed to sleep. That is how developer-friendly it is. Their starter library didn’t fall short of templates you can scaffold with. After browsing for a bit, I already knew which template I would start with.
The Novela Theme
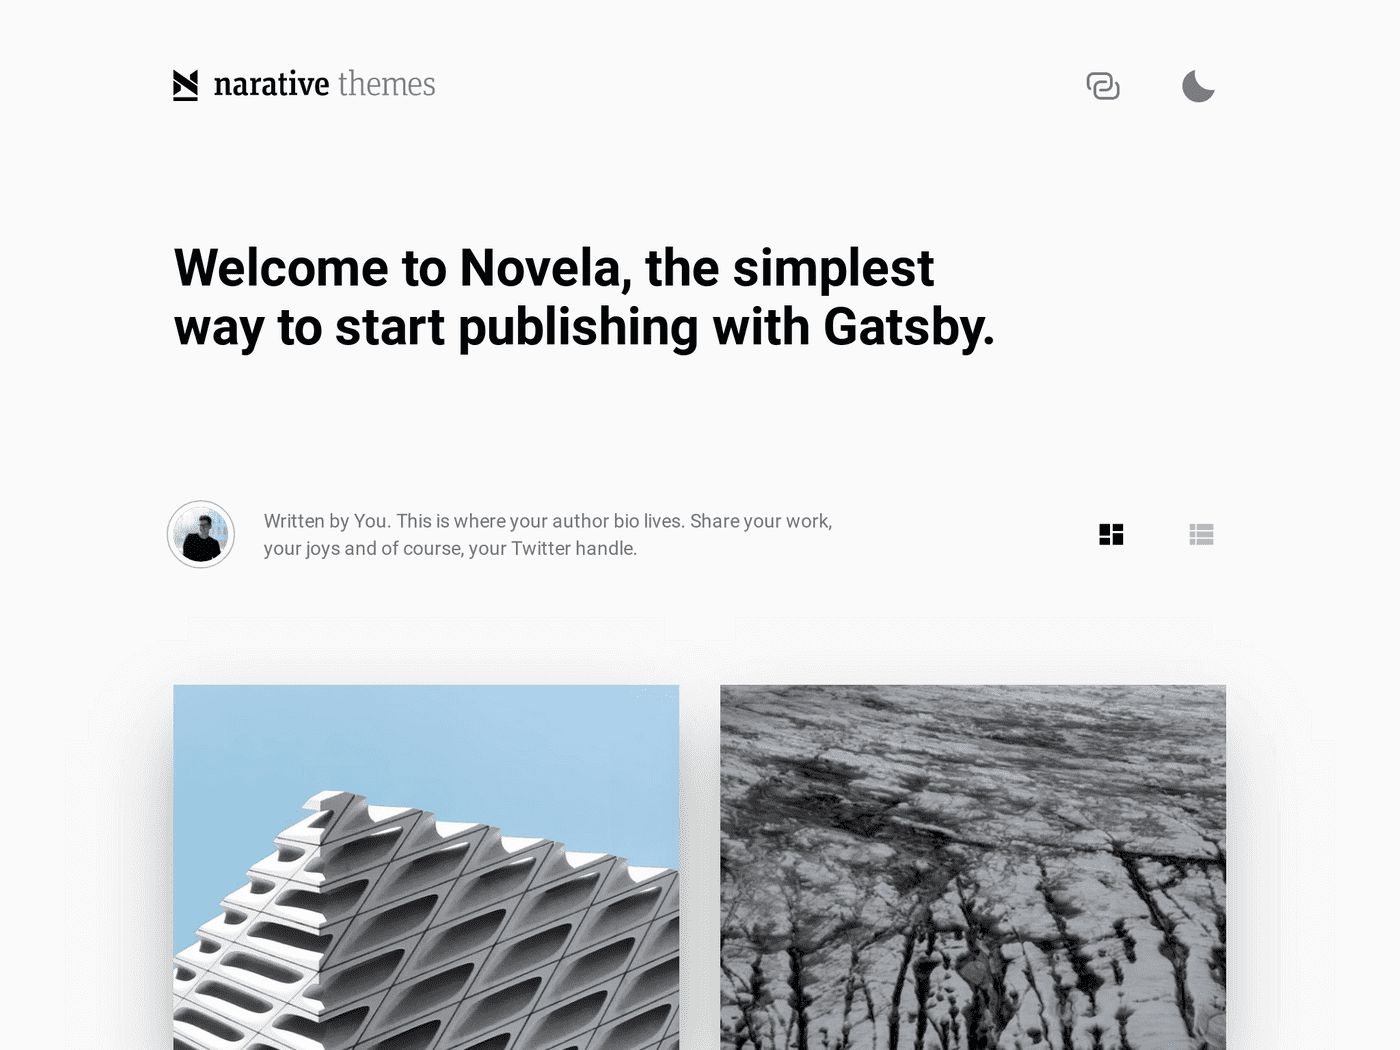
Meet Novela, a Gatsby starter template made by the awesome team that is Narative. This has got to be one of the most elegant themes among the starter templates from the Gatsby library.

It already has the basic foundation for publishing blogs with posts formatted in Markdown and queried via GraphQL. You can either write posts on the theme repository itself or add them via Contentful or Netlify. Since I like writing on my IDE, I am publishing via Github Pages with the option to migrate to Contentful when I reached the Github repo size limit. Scalability, it matters.
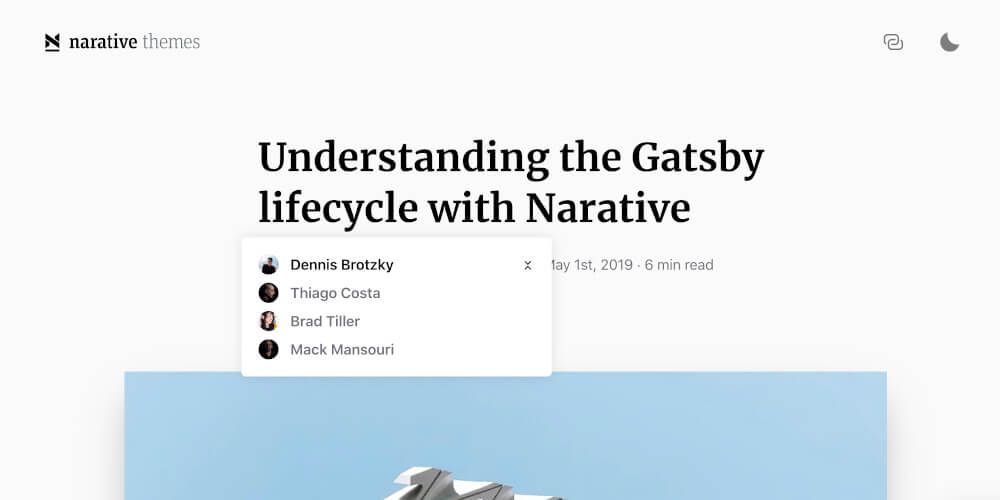
However, as with all starter templates, it will always be lacking all the features you wanted for your website. While the publishing tools are there, the theme is built with multiple authors in mind — similar to Medium.com.

I originally cloned gatsby-starter-novela but since I needed to customize it, I cloned the core theme and worked from there: gatsby-theme-novela — this is where I can modify the components and templates.
Here’s the summarized structure of gatsby-theme-novela:
1novela-theme2|- src3 |- components4 |- sections5 |- article6 |- articles7 |- author8 |- templates9 |- article.template.tsx // blog post10 |- articles.template.tsx // index11 |- author.template.tsx // author page
1www2|- content3 |- authors4 |- avatars5 |- authors.yml6 |- posts7 |- 2017-04-27-building-hoppers-media-centre8 |- images9 |- index.mdx
I needed to add the following for my website:
Data:
- Custom post type for my projects
- Custom taxonomy for blog posts: topics
- Custom taxonomy for blog posts: categories
- Custom taxonomy for project: project types
- Custom taxonomy for project: clients
Pages:
- Custom Home page
- Custom articles page - or the Blog listing page
- Custom article page - or the Blog post page
- Projects page
- Project page
- About page
Features:
- Menu links on desktop
- Toggled menu for mobile
- Sticky header
- Disqus commenting system
- Deployment to Github Pages
Assets:
- Custom logo and favicon
- Custom fonts
- Blog post hero images - not all my previous blog posts have images
- Project hero images
Adding a Custom Post Type
Since this is my portfolio site, I needed to add a new custom post type: projects. I replicated the structure of the original post type: articles
1gatsby-theme2|- src3 |- components4 |- sections5 |- article6 |- articles7 |- author8 |- project // based from article9 |- projects // based from articles10 |- templates11 |- article.template.tsx // blog post12 |- articles.template.tsx // blog listing13 |- author.template.tsx // author page14 |- project.template.tsx // project post based from article.template.tsx15 |- projects.template.tsx // projects listing based from articles.template.tsx
When adding a new post type, the following files should also be modified:
gatsby-config.js- src > gatsby > data >
data.query.js - src > gatsby > node >
createPages.js - src > gatsby > node >
createResolvers.js - src > gatsby > types >
index.d.ts
Adding a Custom Taxonomy
Since I only have one author on my website (myself), I renamed all instances of author to topic as I may have multiple topics in one blog post. I also modified topics.yml (previously authors.yml) with the topics I’d want to write about.
1gatsby-theme2|- src3 |- components4 |- sections5 |- article6 |- articles7 |- topic8 |- project // based from article9 |- projects // based from articles10 |- templates11 |- article.template.tsx // blog post12 |- articles.template.tsx // blog listing13 |- topic.template.tsx // topic page14 |- project.template.tsx // project post15 |- projects.template.tsx // projects listing
1www2|- content3 |- topics4 |- avatars5 |- topics.yml6 |- posts7 |- 2017-04-27-building-hoppers-media-centre8 |- images9 |- index.mdx
Renaming is easy. But for the new post type projects where I needed to add a new taxonomy for the project type, which I named works, the following files should be updated as well:
gatsby-config.js- src > gatsby > data >
data.query.js - src > gatsby > node >
createPages.js - src > gatsby > types >
index.d.ts
And on the post itself, the field (topic or work) should have a value already listed on the topics.yml or works.yml.
1# Blog post2---3title: "Title of the Post"4slug: slug-of-the-post5topic: Topic A, Topic B6date: 2020-07-307hero: ./images/hero.jpg8excerpt: "Excerpt of the post"9---10content of the post
1# Project2---3title: "Title of the Project"4slug: slug-of-the-project5work: Project Type A, Project Type B6date: 2020-07-307hero: ./images/hero.jpg8excerpt: "Excerpt of the project"9---10content of the project
Adding Categories
The Novela theme doesn’t have categories built-in on its core theme. However, I found this PR by saadnoor on the gatsby-theme-novela repo. It worked well and didn’t find any issues when I pulled it.
1# Blog post2---3title: "Title of the Post"4slug: slug-of-the-post5topic: Topic A, Topic B6date: 2020-07-307hero: ./images/hero.jpg8excerpt: "Excerpt of the post"9categories: ['Category 1, Category 2']10---11content of the post
1# Project2---3title: "Title of the Project"4slug: slug-of-the-project5work: Project Type A, Project Type B6date: 2020-07-307hero: ./images/hero.jpg8excerpt: "Excerpt of the project"9categories: ['Client 1, Client 2']10---11content of the project
Sticky Header
For the sticky header, I added a custom hook to detect the user scroll activity and add / remove the .sticky class to the header container.
1useEffect(() => {2 const header = document.getElementById("navToolbar");3 const sticky = header.offsetTop;4 const scrollCallBack = window.addEventListener("scroll", () => {5 if (window.pageYOffset > sticky) {6 header.classList.add("sticky");7 } else {8 header.classList.remove("sticky");9 }10 });11 return () => {12 window.removeEventListener("scroll", scrollCallBack);13 };14}, []);
1const NavToolbar = styled.div`2 // some styles here34 &.sticky {5 position: fixed;6 top: 0;7 width: 100%;8 }9`;
Modifying the number of shown posts
Originally, the Novela theme shows you 6 posts per page. I wanted to show 10 posts or projects on the Blog listing and Projects listing pages respectively. You can modify this on src > gatsby > node > createPages.js, and update the pageLength value.
Deploying to Github Pages
Similar to my Jekyll site, I also wanted to deploy my website to Github via Github Pages (it’s free). For this I installed gh-pages and modified the deploy script on my package.json. You also need to add --prefix-paths to your build script for this to work.
1"scripts": {2 "develop": "rm -rf .cache && gatsby develop",3 "clean": "gatsby clean",4 "build": "gatsby build --prefix-paths",5 "deploy": "gatsby build --prefix-paths && gh-pages -d public"6 },
Conclusion
This post mostly covers the restructuring of the Novela theme to my website’s structure and some of the main features I added. I also added and modified several UI and functionality such as:
- The progress bar you see on the sticky header above that progresses as you scroll down the post to give users a hint how far they are reading relative to the post length
- Added the sticky title on the right side inspired by the Adobe Blog
- The Instagram feed was not working for some reason and I installed and used
gatsby-remark-instagram-embedinstead - Removed the newsletter section for now
- Added Disqus commenting system: for this I used
gatsby-plugin-disqus - The swiper thumbnail gallery on the Home page for showcasing clients: Swiper React
- For the typing animation the Home page, I used
react-typist - Added breadcrumbs to posts
That’s it! If you are currently customizing the Novela theme and needed more details on how I did some of the customizations I posted here, or if you have a post about how you customized yours, feel free to share it with the rest of us by commenting below. ↓